
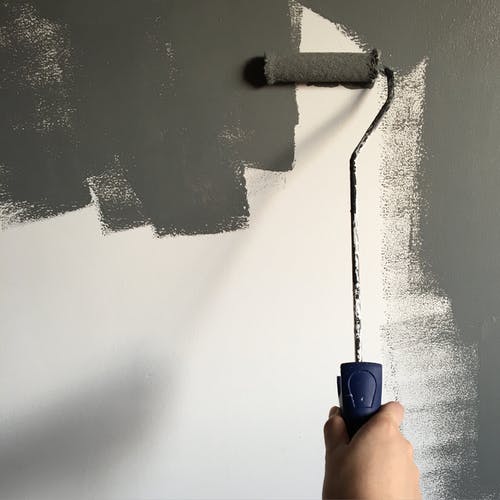
Since the day paint rollers were introduced into the market, a lot of people have experienced how easy it is to do a paint job quickly and efficiently. Since paint rollers are typically wider than regular paint brushes, they could cover much more space with paint, helping you finish the paint job at a shorter period of time.
Aside from that, paint rollers also produce a smooth coat of paint on a surface unlike paintbrushes that leave marks and strokes on the paint surface. Because of these amazing benefits, paint rollers have become almost a necessity for everyone who loves to do DIY home projects.
There are plenty of types of paint rollers – from the standard manual roller to the smallest mini roller. Each type is specifically designed to make certain paint jobs a lot easier. For instance, if you need to paint a wall, you’ll need a big paint roller to do the job more efficiently. For smaller areas or tight spaces, it would be hard to use a regular paint roller to do the job. Instead, you’ll need a mini paint roller for this type of paint project.
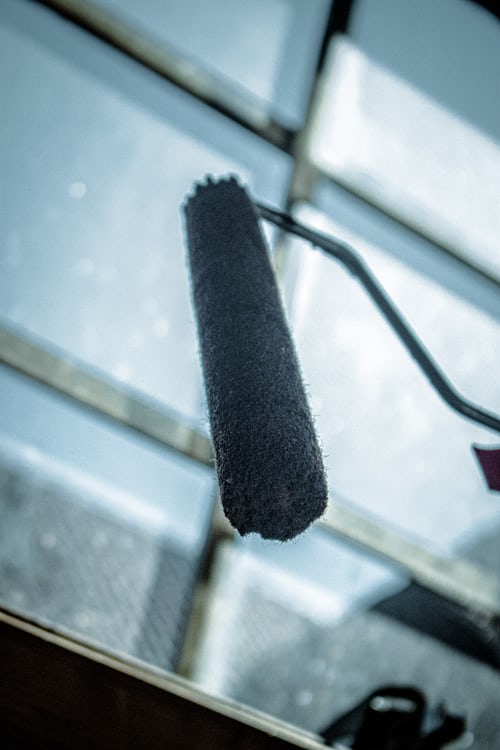
What is a Mini Paint Roller?
A mini paint roller is significantly smaller than the other roller types. Its length typically ranges from around 4 inches to 6 inches. Because of their size, these rollers are more convenient to paint hard to reach areas and angles that are a bit complex for regular paint rollers.
Uses of Mini Paint Rollers
Despite its size, there are plenty of things you could paint with a mini roller. It can be used to paint behind fixtures such as sinks and toilets. Aside from that, it is also perfect for painting edges or narrow spaces that need more precise coverage such as the edges of a wall or ceiling. Mini rollers are also great for painting woodwork and furniture since it can reach even to the narrowest corners of the product. Indeed, mini paint rollers are a must-have in your tool kit especially if you love doing DIY work.
How to Use It?
First, before you start any paint job, see to it that you set the area you’re planning to paint by putting painters’ tape along the borders. This protects the other areas that shouldn’t be included in the paint job. After setting the area, you’ll need to prepare the paint you need. Be sure to stir the paint thoroughly and add a bucket screen for a smooth paint finish.
When dipping the mini roller into the paint for the first time, dip it until half inch deep. Then, roll it to the bucket screen to spread the paint evenly on the roller cover. You should repeat this step for about 5 to 6 times before using it on the surface.
When applying paint into the surface, roll it until it covers around 12 inches. Repeat rolling on the surface for about 3 to 4 times to cover it smoothly. You could then add more paint into the roller as you need it. Unlike the first time, you’ll only need to dip the roller for 2 to 3 times.
Mini paint rollers are definitely a must-have on any type of paint job.
Leave a Reply